As I mentioned previously, we put in hardwood on the first floor earlier this year. I should say we put hardwood in the rooms on the first floor that did not have hardwood, i.e. the family room, living room and dining room. I think the previous owners (who were the original owners) were too cheap to put in hardwood everywhere, so there was low-end carpet in those rooms. The previous owners had a dog and a little boy, and we had two cats. Dogs, cats and little boys are not kind to carpeting, so after 15 years, the carpet had to go.
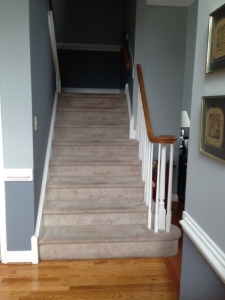
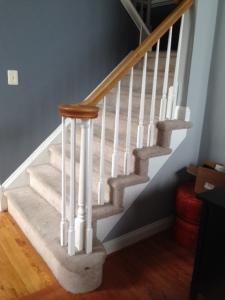
Here are our stairs with the carpet:
After putting in the hardwood (and rejecting the installer’s $3000 estimate to put in hardwood on the stairs), I decided that I would rip off the carpet and stain the wood underneath. I spent many hours researching this. People said to rip up a corner of carpet to see what was underneath. If the tread doesn’t have a bull nose edge, keep or replace the carpet. Fortunately, our treads had a bull nose edge. Yeah! Most people advised against staining unless you had good quality wood. We had pine, so I decided to paint it.
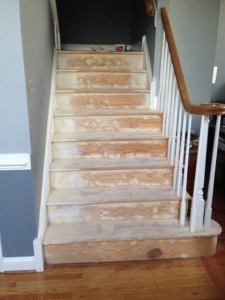
So, here are the stairs with the carpet removed and stapled holes filled. It was REALLY difficult to maneuver around the posts. Thanks God for x-acto knives.
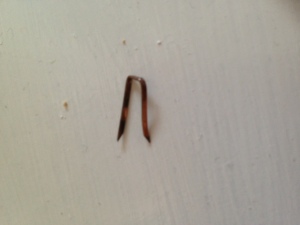
I spent six hours removing staples. I am NOT exagerating. There were big staples holding down the padding. There were small staples (about 1/4″ long) holding the carpet on the risers and under the bull nose. Here is a photo of these staples:
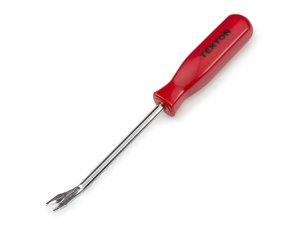
Nothing I had at home could remove these little buggers. After a lot of on-line searching, I found someone who recommended this tool which made a world of difference. It is a tack puller (available on Amazon):
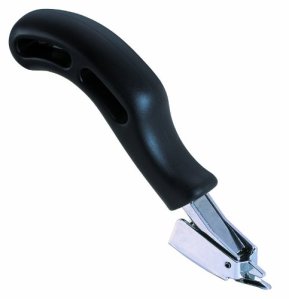
For the larger staples, I used an upholstery staple remover. It could dig into the carpet pad as well as the wood. It is also available on Amazon. I already had one from a failed attempt at upholstering an old chair.
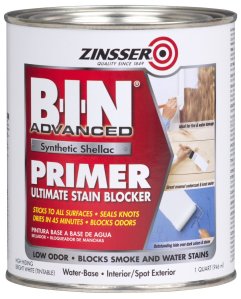
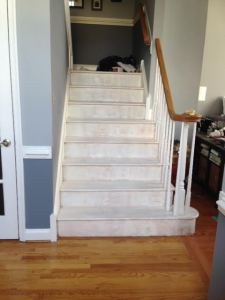
I also had to pull up carpet tack strips on the landing. A hammer did the trick. After filling the 3 billion staples holes and holes left by the tack strip nails and then sanding everything down (and leaving a fine dust all over the first floor), it was time to paint. I knew that pine and its knot holes (see the large knot hole on the bottom riser in the photo with the holes filled) tends to bleed through paint, but I didn’t know how to prevent it, so it was back on the Internet to research these. The general consensus was to cover everything with a white shellac. Based on the comments on-line, I selected BIN. Here are the stairs with a coat:
Now it was FINALLY time to paint. Originally, I was going to paint the treads the next shade darker from the color below the wainscoting (a deep blue gray). I even bought a gallon of porch paint in that color at the recommendation of the gal at Lowe’s. However, while painting the risers white, I realized how time consuming it was going to be to paint the treads a different color. The risers needed two coats of paint and it took me two hours to do each coat. Plus, there was no way I was going to be able to get a paint brush between the balusters on the bottom tread unless I used a small artist paint brush. I don’t mind doing intricate work, but this would mean laying (lying?) on the floor and my old, arthritic knees just don’t like getting up from the floor. So, after some deep thought and looking at on-line stair painting ideas, I decided to just go with with white treads.
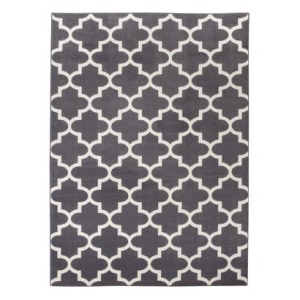
The next thing that required thinking and on-line research was what to do with the landing. The floor underneath the carpeting was pine plywood. Almost all of the people who have written about painting stairs didn’t have a landing to deal with, but I did find one woman who did. She covered the landing with wide plank bead board. I was all over this idea, but the bull nose on the landing was at the same level as the plywood, so adding bead board wouldn’t work. I decided to cover the plywood with wood fill, sanded it down, painted it white, and added this runner from Target:
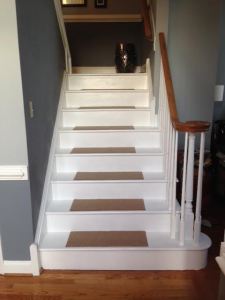
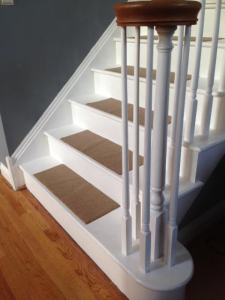
Here are the finished stairs. The brown carpet treads are temporary until I find some that I like. It took a lot of work, but I’m really pleased with the way it turned out. I still have to put in quarter round around the bottom stair and the landing, but that will wait until I get motivated.
Before and after
Take a bow, my friend! You rock the DIY! I’d have lost interest somewhere in the midst of pulling staples and the stairs would remain in that state until Charlie took over and finished. Be proud! You’ve done a fabulous job! Can’t wait to see the tufted headboard!